The temperature's dropping, and Halloween is drawing near, so get ready for some thrills and chills! Decorate your home for the spooky season with our simple DIY Halloween tips, guaranteed to give friends and family a fright.
DIY tips for Halloween
-
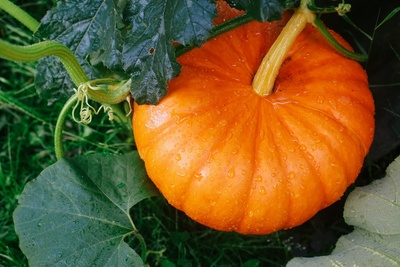
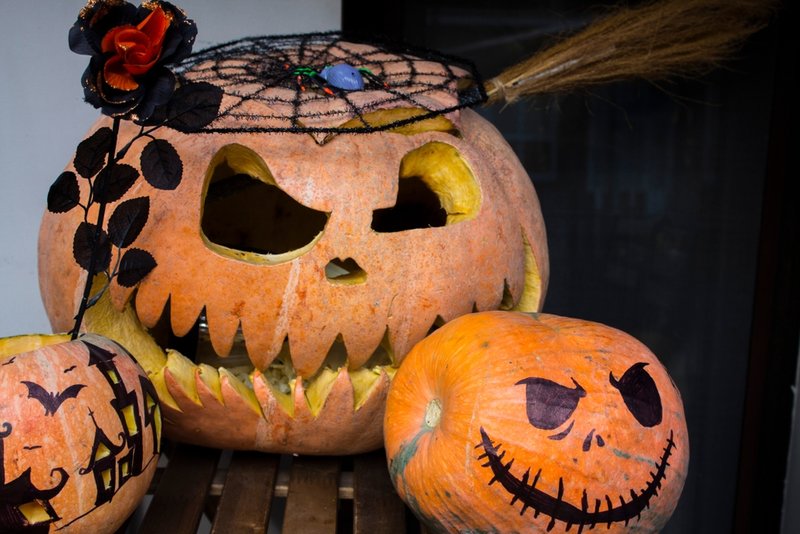
It's not Halloween without a carved pumpkin or two. Get yourself a nice giant pumpkin from the supermarket, cut off the top and scoop out the flesh inside. (You can save this to make a delicious pumpkin pie!) Then use a sharp knife to cut holes in the skin for the eyes and mouth. If you don't fancy hollowing out your pumpkins, you can also use a linoleum cutter to etch a face or a pattern in the pumpkin's outer skin.
-
Remember making paper snowflakes? Well, you can make paper spiderwebs in just the same way, and they make incredible Halloween decorations hanging from window frames and shelves. (If you can't remember how to do all that folding, don't worry – there are plenty of online tutorials available!) Use thin paper, as it makes it easier to cut through all the layers.
-
Hang cheesecloth or another sheer material over a window, then attach masses of tiny fake spiders (buy them or cut them out of black paper). For extra effect, cut out a few bigger black spiders and stick them nearby.
-
While you're on the spider theme, it's easy to make cute but scary spiders by sticking googly eyes and pipe cleaner legs onto conkers. Hang them from the windows, sit them on a shelf or hide them around the house to make your friends and family jump!
-
Make ghost lollipops to hand out to visitors by wrapping white tissue paper over the heads of the lollipops. Stick on some googly eyes or draw them on with a pen to complete the ghoulish effect.
-
To make up for scaring your guests, have some Halloween snacks ready to hand out. Add black food colouring to your favourite sponge recipe to make spooky black cupcakes, then decorate them with scary faces. Fondant icing is excellent for this, as you can cut out the shapes you need, and smarties make tasty eyes for your cake faces.
-
To make chocolate-covered apples, melt chocolate in a double boiler. Wash the apples, then dunk them quickly into boiling water to get rid of their wax coating. Wipe dry and push a skewer into each apple. Holding them by the skewers, dip the apples in the melted chocolate. Once the chocolate has started to dry, scatter chopped nuts or sprinkles over the apples. Leave to cool and set, then serve.
If you're after some inspiration for your Halloween decorations this year, visit us. You'll be surprised what you can find in our centres!